- Docs
- Get set up
- Your first launch
Your first launch
The three steps Rivet walks you through the first time it opens: reach your Mapped data, choose who builds, and start.
The first time you open Rivet, it asks you to accept its license agreement, then walks you through three steps. You won't see the steps again.
The license agreement
Before anything else, Rivet's window shows its license agreement in a dialog, Mapped Rivet license agreement: "To use Mapped Rivet, read and accept the license agreement." The whole agreement is in the box; scroll it, or click it and use the arrow keys. Links under it open Mapped's Privacy Policy, Customer Agreement and Data Retention Policy in your browser.
Under the links is Share usage analytics: "Help improve Mapped Rivet by sharing feature usage, performance, and diagnostic information. Project contents, prompts, generated applications, credentials, and access tokens are not included. Events include your Mapped user and org." It links to Mapped's Privacy Policy too. It's separate from the agreement: tick it or not, and you can still accept the agreement. It starts ticked, except where your computer's region or time zone is in the EU, the EEA, the UK or Switzerland, or Rivet can't tell: there it starts unticked. As the dialog says, "You can change this any time in Settings › This computer."
- Choose I Agree to accept the agreement. Rivet remembers, on this computer, which agreement you accepted and when, keeps your Share usage analytics choice, says Starting Mapped Rivet… and opens in the same window.
- Choose Decline and Quit if you don't agree. Rivet closes without doing anything else and keeps nothing, your usage choice included. Closing the window does the same.
Rivet doesn't start until you've chosen I Agree: nothing connects to Mapped and nothing is built. It asks again only if the agreement changes, for example in an update: the window then says "The license agreement has changed since you last accepted it." That time there's no Share usage analytics box: your earlier choice stays as it is. It also asks again after you start over in Settings, which clears what Rivet remembers on this computer.
If the dialog says Mapped Rivet couldn't save your acceptance, Rivet couldn't write to its folder on this computer. Choose I Agree again; if it keeps happening, see the troubleshooting page.
Your first three steps
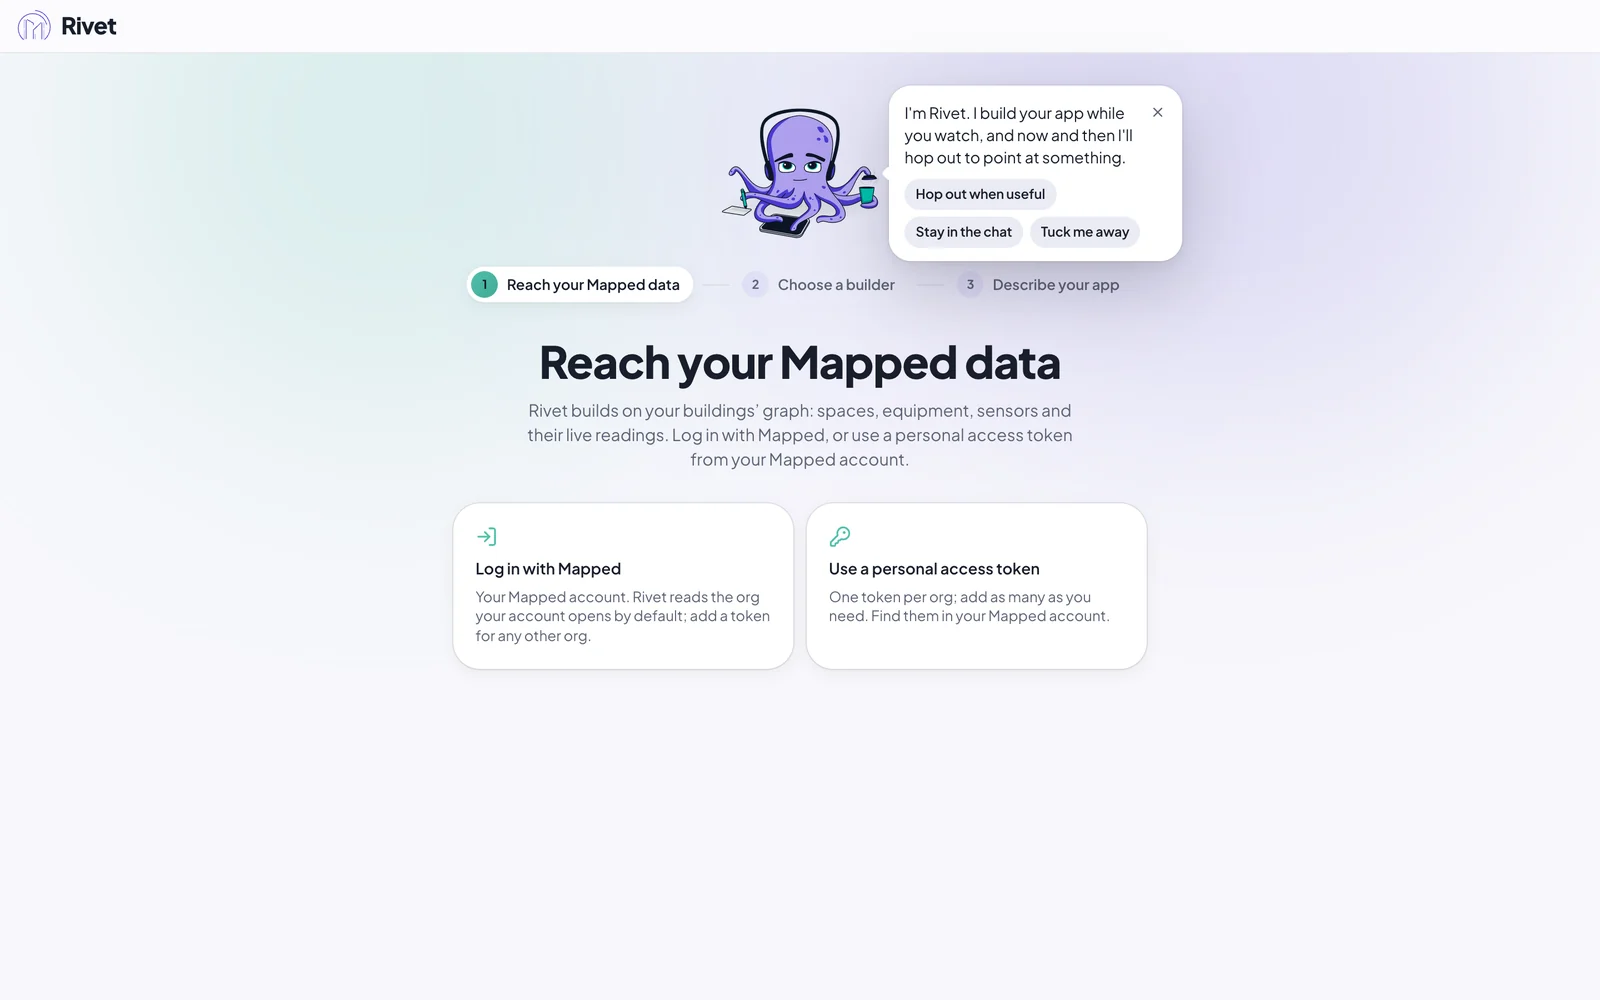
Rivet, the octopus at the top, introduces himself. He points things out while he builds; choose Hop out when useful to let him, Stay in the chat to have him say it from the chat, or Tuck me away if you'd rather he spoke up only when something stops a build. You can change this later in Settings › Appearance.
Step 1: Reach your Mapped data
Rivet builds on your buildings' data in Mapped, so first it needs to reach it.
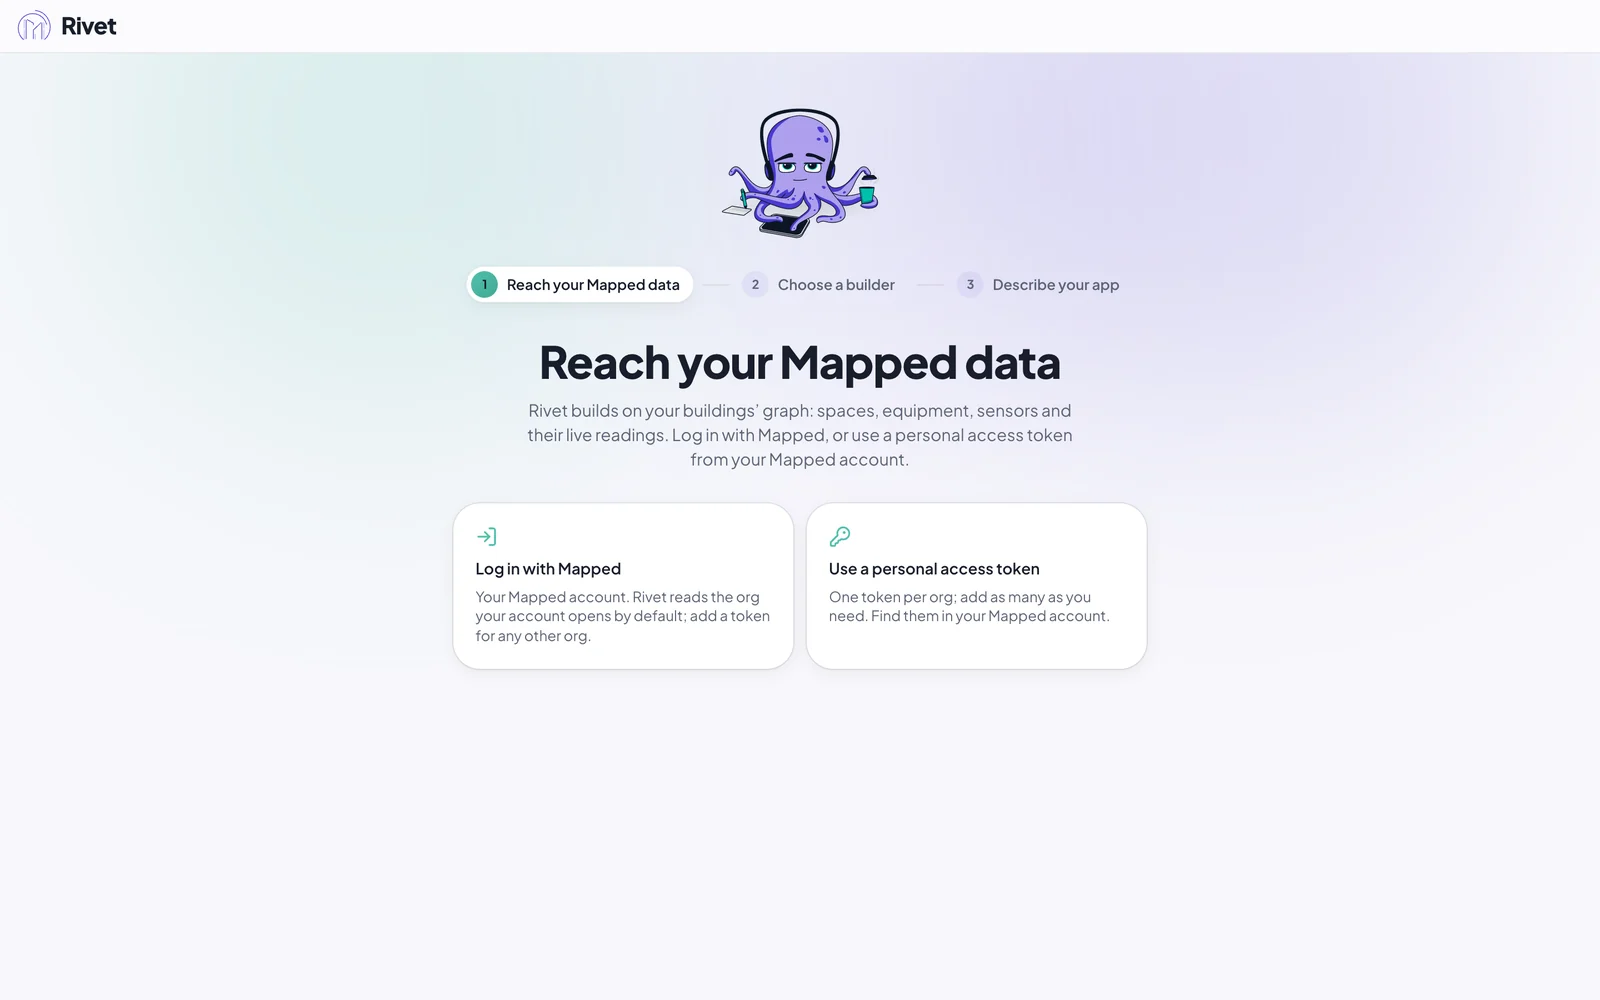
Choose Log in with Mapped if you have a Mapped account. It's the easiest way: you sign in with the account you already have, and Rivet reaches every org your account can open. New to Mapped? Choose Create a Mapped account instead; the steps are below.
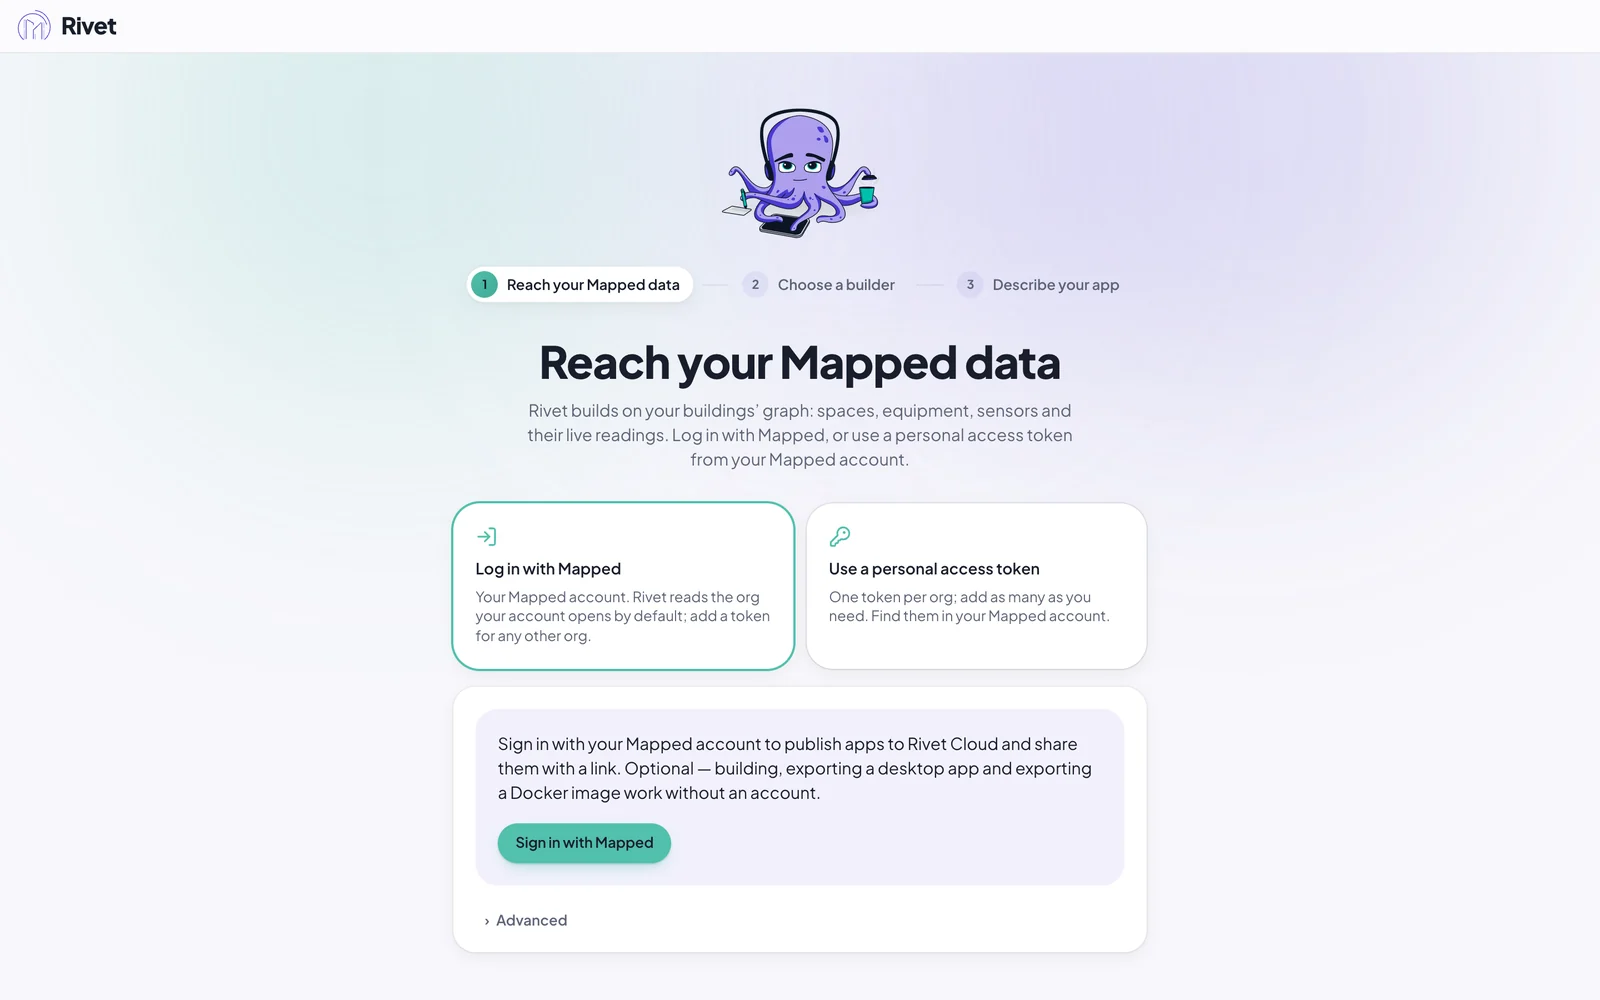
- Press Sign in with Mapped. Your browser opens Mapped's sign-in page.
- Sign in with your Mapped email and password, as you do for Mapped's Console.
- The browser says You're signed in to Rivet. Close that tab and go back to Rivet.
- Rivet shows your name and email. Press Continue.
While it waits, Rivet says Finish signing in in your browser. If you closed the browser tab by mistake, press Open the sign-in page again. Rivet stops waiting after five minutes (fifteen for a new account); start again whenever you're ready.
New to Mapped? Create an account
You don't need a Mapped account before you open Rivet. Choose Create a Mapped account on the first screen, or find the same form under Settings › Mapped login.
- Type your work email under Work email and press Create account. Rivet opens Mapped's sign-up page in your browser with that address filled in. By creating an account you agree to Mapped's Customer Agreement, as the form says.
- Finish the sign-up in the browser: a password, and a quick check that you're a person if Mapped asks.
- Mapped emails you a verification link. Rivet says Check your email with the address it sent the link to. Open the link, then press Sign in again in Rivet. (If the email hasn't arrived after a minute, check your spam folder, then press Sign in again: Mapped sends a new link.)
- Sign in with your new email and password. The browser says You're signed in to Rivet. Close that tab and go back to Rivet.
- Rivet shows your name and email, and has added you to the Sandbox org. Press Continue.
If Rivet says it could not add you to the Sandbox org yet, you are still signed in; press Try again under your name in Settings › Mapped login (or on your sign-in's row in Settings › Personal access tokens), or see the troubleshooting page.
If your Mapped administrator gave you a personal access token instead, see Use an access token instead.
Step 2: Choose who does the building
Next, tell Rivet how to reach Claude, the AI that writes your apps. If you haven't decided yet, read Rivet needs Claude to build first.
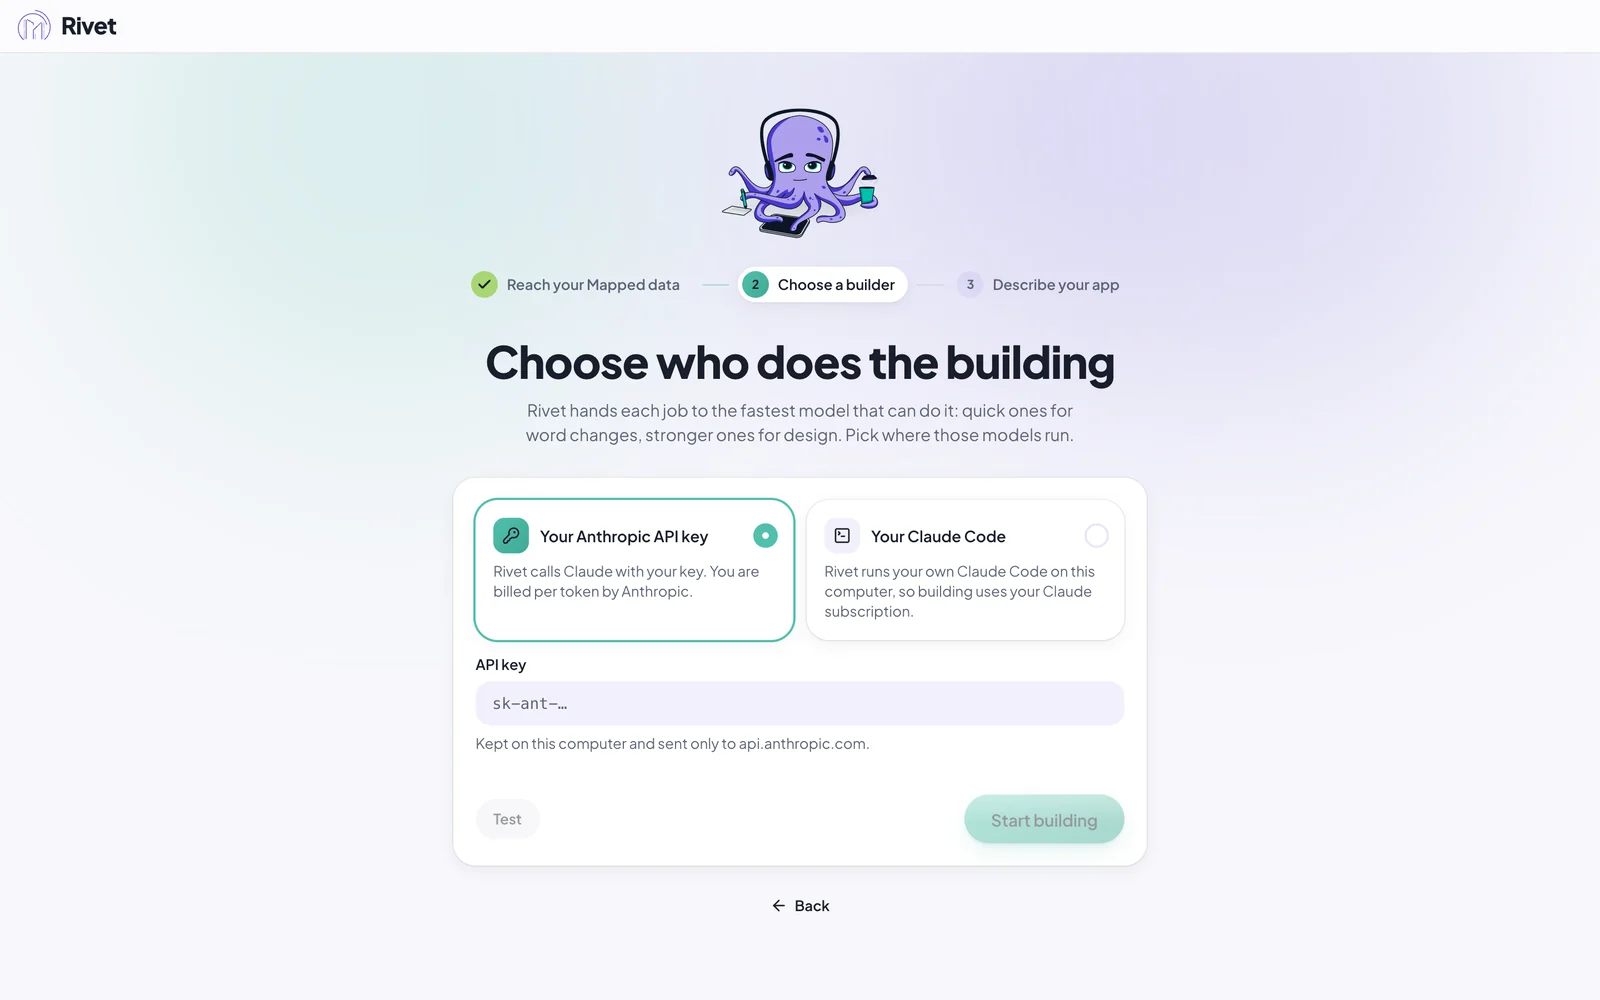
- Your Claude Code (recommended if you have a Claude plan): pick it, and Rivet finds Claude Code by itself. It says Claude Code is ready and signed in, with the version. If it isn't on your computer yet, press Install Claude Code and then Sign in to Claude on the card; Set up Claude Code walks through it.
- Your Anthropic API key: pick it and paste your key into API key.
Then press Test. Rivet sends Claude a tiny question and tells you how it went.
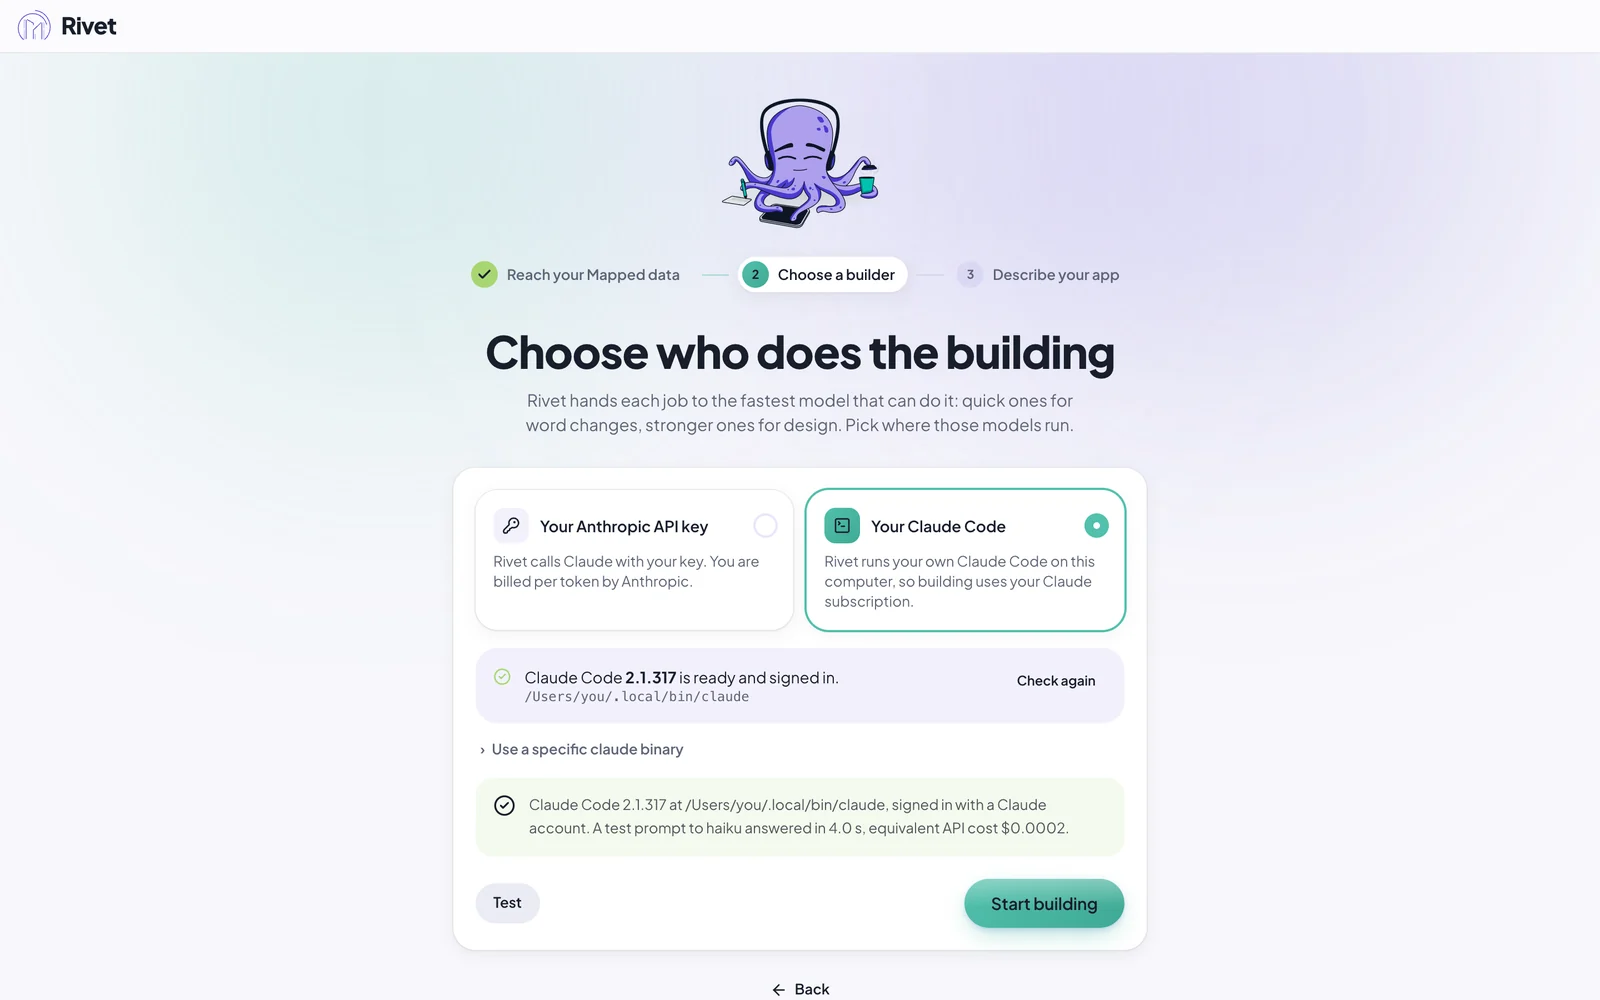
A green message means you're ready.
The choice you made on the license agreement is the switch Share usage analytics in Settings › This computer; change it there any time, signed in or not. Rivet shares no usage analytics unless it's on. (Running Rivet in a browser or in Docker, there's no license agreement, so the switch starts unchosen and says You haven't chosen yet, so Rivet sends nothing.)
Press Start building.
If the test fails, the message says what's wrong. The most common ones:
| Rivet says | What to do |
|---|---|
| Claude Code was not found on PATH or in the usual install folders | Claude Code isn't installed yet. Press Install Claude Code on the card (Set up Claude Code). |
| … is installed but not signed in | Press Sign in to Claude on the card and paste the code Claude shows (Set up Claude Code). Then press Test again. |
| The Anthropic API key was rejected (401) | The key was mistyped or deleted. Copy it again, or make a new one. |
| Rate limited by the Anthropic API (429) | Wait a minute and press Test again. |
Step 3: Describe your app
Rivet opens its home screen, What should we build today? That's where every app starts.
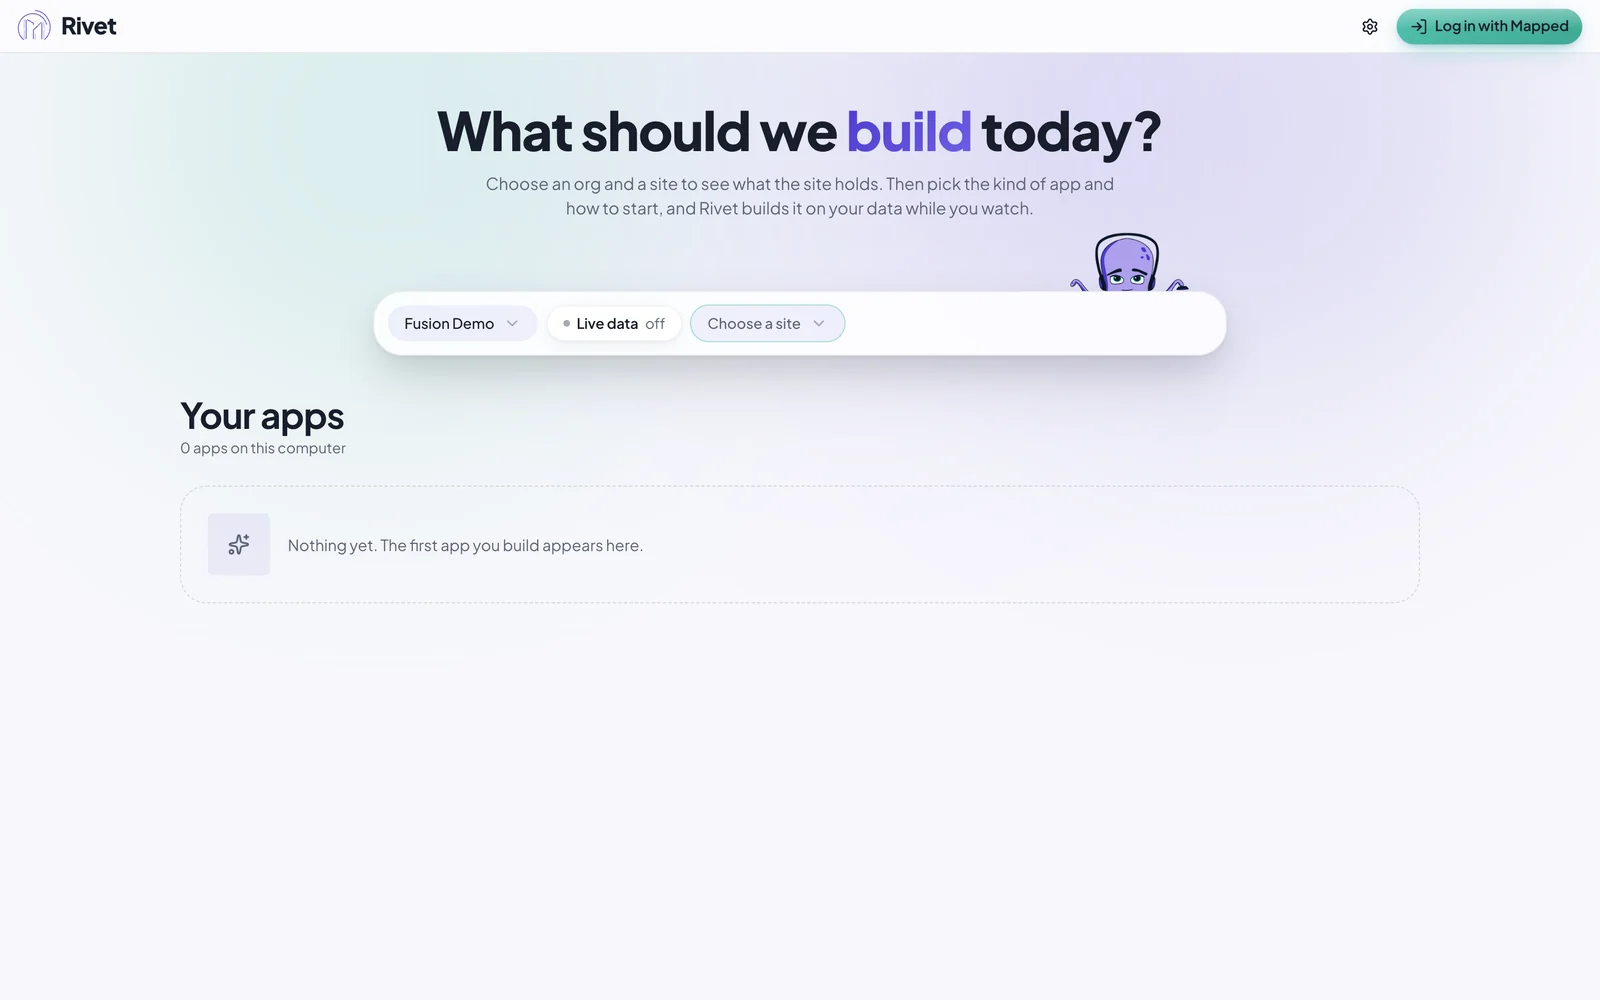
Above the heading, New app and Your apps switch between two views.
New app asks one thing at a time, in steps named in a row at the top. Back, or a step already passed in the row, takes you back to it.
- Where is it?: the org and the site the app is built on, and the Live data button for that org. Choose them first: until you do, a line under them says "Choose a site first. An app shows one site at a time." Once a site is chosen, Rivet shows what it holds, with a plan of one floor and its counts, and Continue takes you on.
- What to start with?: the templates, such as Plan Centric or Dashboard. It only decides what the app starts with; nothing is locked in.
- How do you want to start?: Open the plan (Plan Centric only, with nothing to type), Suggest something or Describe it, with Auto model and Auto effort under them. Leave the model and effort on Auto: Rivet picks the right Claude model for each job. Describe it goes on to Say what you want, the description box with a few ideas chosen for the site you picked under it (Ideas Rivet suggests).
Your apps lists every app you build, with how many there are on its button. An app built on an org you reach through Log in with Mapped belongs to that login: it's listed only while you're logged in with it, and it doesn't open when you're logged out.
Start a new app goes through each one.
Now turn on live data, or go straight to your first app.